
Proxmox is a Debian-based operating system for deploying and managing virtual machines using a web-interface. Its a great environment to experiment with new operating systems or manage bitcoin and lightning node deployments with Umbrel.
Why use a VM for Umbrel?
Proxmox is also useful for managing multiple Umbrel instances. This allows you to have one Umbrel for your finances, and a separate Umbrel for federated social apps, self-hosted websites, home automation, etc. This siloing of data behind virtual machines can help increase security compared to a deployment where all data is on the same host (virtualized or physical).
In this guide, we will setup a new VM to install Umbrel with the intention of running a Bitcoin full node and lightning node.
Here’s what we will cover:
- Create a Debian VM in Proxmox
- (Optional) Convert your new Debian VM to a template
- Create a virtual hard drive for your Debian VM
- Create a partition, filesystem, and mount your virtual hard drive
- Install Umbrel and use the hard drive for Umbrel data storage
- (Optional) Expand the size of your virtual hard drive
If you are new to Proxmox, I recommend this video tutorial for Installing Proxmox. Ready to dive deep into what’s possible with Proxmox? Check out this excellent video series on Proxmox.
Ok, let’s get started!
Step 1: Create a Debian VM in Proxmox
We will be using Debian as the operating system and then install Umbrel on top. Debian is well-supported by Umbrel, stable, and relatively minimal (very little bloatware). Debian 12 is the latest version as of writing, so we will use Debian 12, but feel free to use the latest Debian version.
In your Proxmox dashboard, click on your server to expand it, then click the different storage pools. One of your storage pools should enable you to store ISO images.
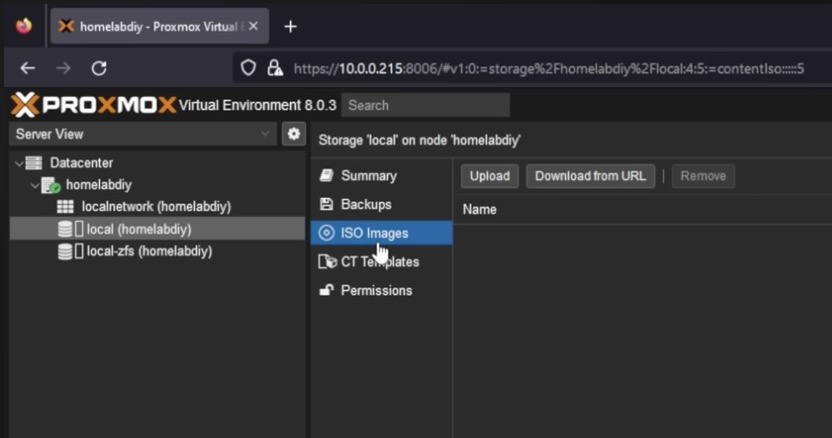
Obtain an ISO for Debian and “Download from URL” or you can “Upload” an ISO if you already downloaded it.
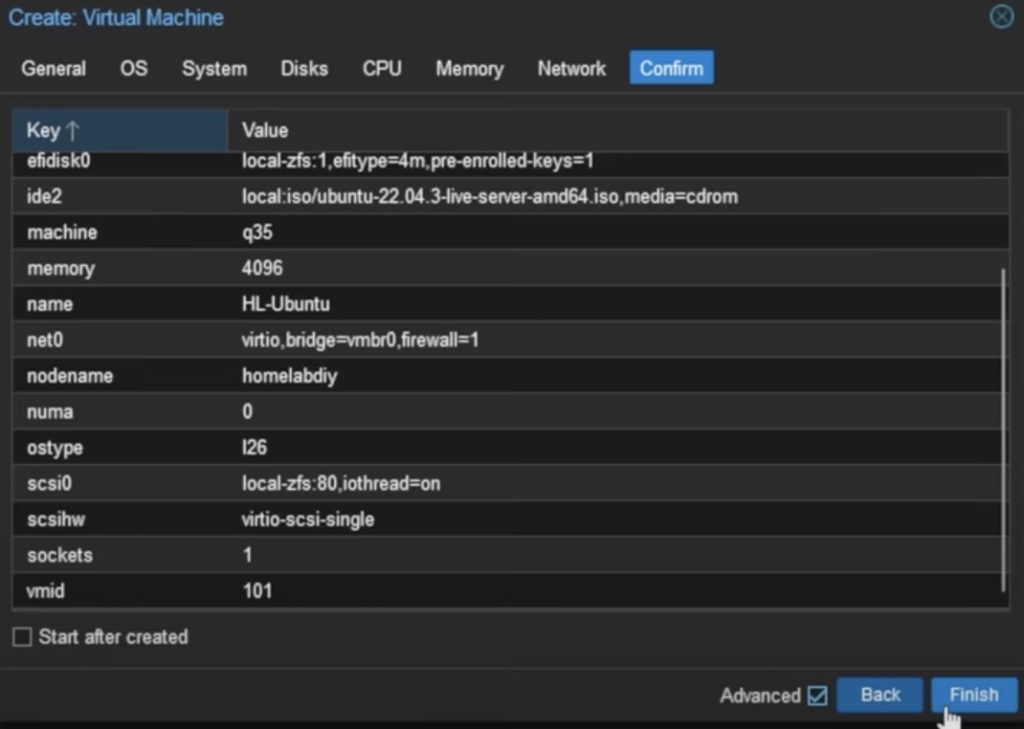
Next, click “Create VM” and follow the Wizard!

- On the “General” tab, just give your new VM a “Name“
- On the “OS” tab, select the Debian ISO we downloaded earlier.
- On the “System” tab, all the defaults are fine, just click “Next“.
- On the “Disks” tab, set the size of the primary VM disk (32 GB or more should be fine)
- On the “CPU” tab, just increase the number of Cores to your liking. Four cores is a good start. You can edit this later.
- On the “Memory” tab, set the maximum MiB of RAM you want to give this VM. Choosing 4096 MiB (4GB) is a good start. You can edit this later.
- On the “Network” tab, just accept the defaults.
- Lastly, confirm your selection and create the VM!
Your new VM should appear on the left-side pane under your Proxmox server’s name in the sidebar.
Go ahead and Start the VM and open the VM’s console. You should see the Debian installation wizard!
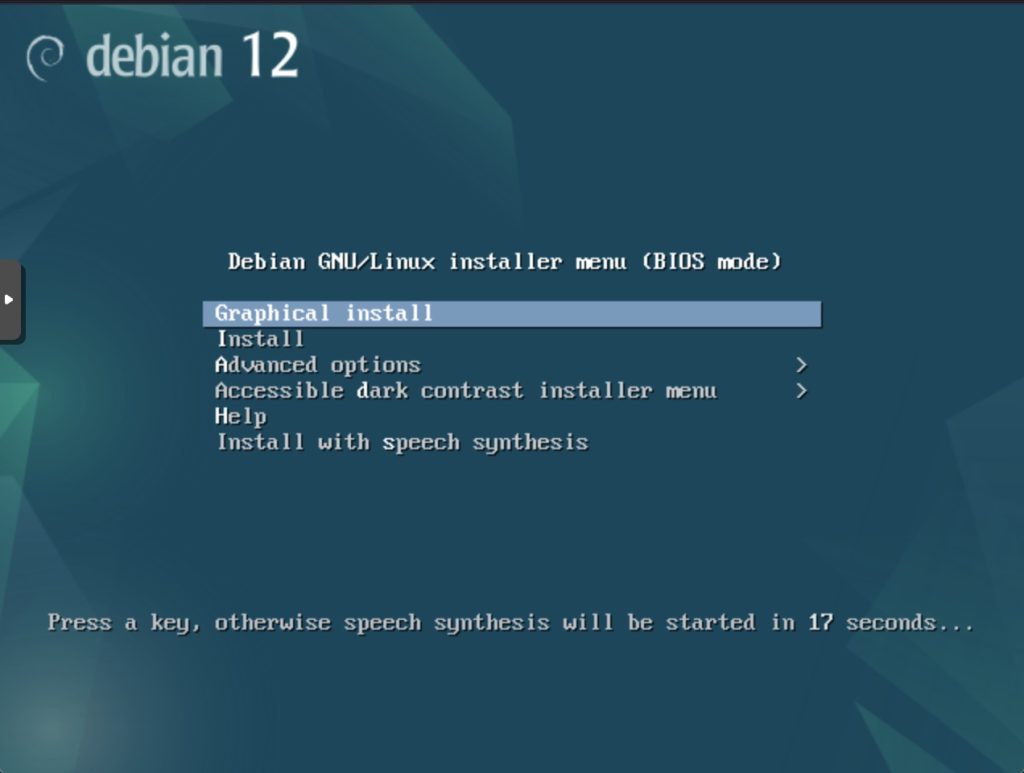
Go ahead and complete the installation of Debian on your VM according to your preferences. Once you have a shell prompt and are logged in as root, you may continue to the next step!
(Optional) Convert your new Debian VM to a template
Whew! Going through the Debian installation process sure was a lot of work. You can create a template from this barebones debian VM so that you never have to do the Debian install wizard again!
Simply right-click the VM and click Convert to Template. You need to stop the VM first!
Now, that you have a Debian template, you can right-click the template, and create a Clone. Simply give the clone a Name and click Create. This will create a new VM using the template. Go ahead and start the new VM. Now we are back where we started with a fresh Debian VM. However, we now have a template that can spawn as many Debian VMs as we need without having to do the Debian install process each time.
Over time, you can replace this template with new ones that have your preferred software installed and configured so you can save time installing on future VMs as well!
Step 2: Create a Virtual Hard Drive for your Debian VM
The storage we created to install Debian will be used for system packages and Umbrel App installation files. That’s why we can get away with a small VM boot drive of 32 GB or more.
To store the data that Umbrel manages, we are going to add additional storage that will hold blockchain data, node identity, wallet files, personal data for self-hosting, etc.
If we create a virtual hard drive for this umbrel data, it makes it incredibly easy to manage. Proxmox makes it super easy to do redundancy and backups with virtual disks.
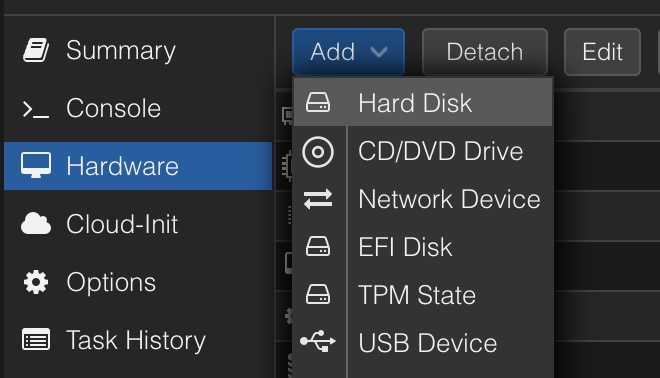
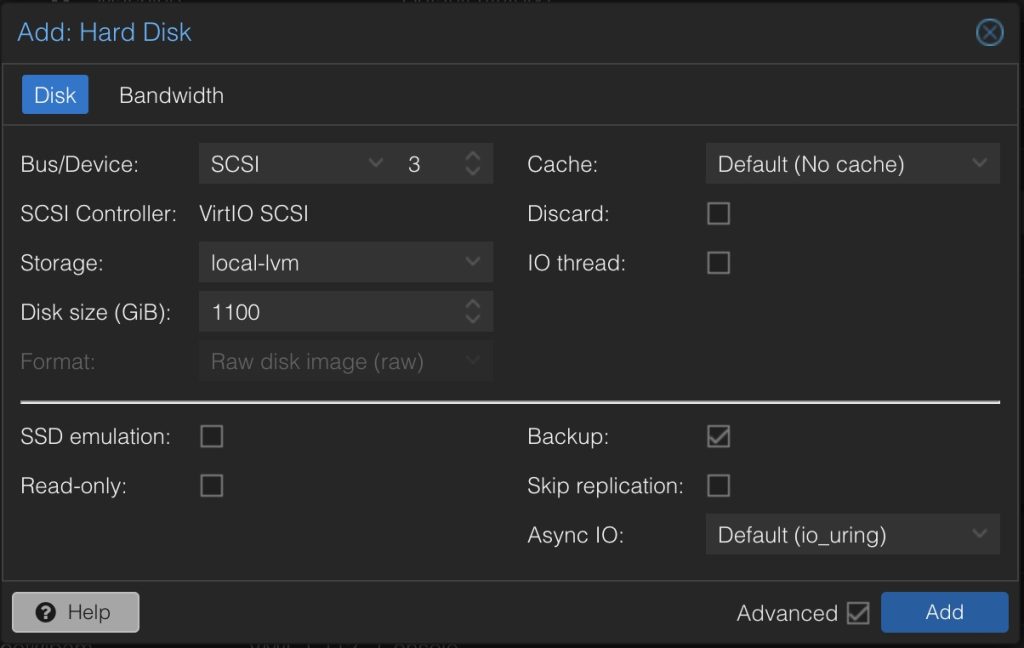
In Proxmox, select the Hardware tab of the VM. Then Add > Hard Disk.
Select the Storage pool to use, and input the Disk size GiB. We can increase this later, but there’s some extra steps. Keep reading to learn how to expand storage of an existing disk in Proxmox.
However, its impossible to decrease the size of the disk later on. So choose your Disk Size GiB carefully.
Step 3: Create a Partition, Filesystem, and Mount your Virtual Hard Drive in the VM
So far, we’ve “attached” a virtual disk to the VM. This is like plugging in a new hard drive, however, we still need to partition, format, and mount the drive to our linux filesystem so that Umbrel can use it to store data.
At this point, you may want to SSH into the VM so you can work in a more comfortable terminal. Get the IP address of your VM with `ip addr` command and look for the IP.
Open up a shell in the VM and log in as root.
Firstly, we need to identify the new disk’s label.
fdisk -l
The output of this command will look something like this:
Disk /dev/sda: 32 GiB, 34719476736 bytes, 4217728 sectors
Disk model: QEMU HARDDISK
Units: sectors of 1 * 512 = 512 bytes
Sector size (logical/physical): 512 bytes / 512 bytes
I/O size (minimum/optimal): 512 bytes / 512 bytes
Disklabel type: dos
Disk identifier: 0x91261eec

Device     Boot   Start       End   Sectors  Size Id Type
/dev/sda1          2046   1914879   1912834  934M  5 Extended
/dev/sda2  *    1914880 134217727 132302848 29.1G 83 Linux
/dev/sda5          2048   1914879   1912832  934M 82 Linux swap /

Disk /dev/sdb: 1.1 TiB, 4294967296000 bytes, 8388608000 sectors
Disk model: QEMU HARDDISK
Units: sectors of 1 * 512 = 512 bytes
Sector size (logical/physical): 512 bytes / 512 bytes
I/O size (minimum/optimal): 512 bytes / 512 bytes
Disklabel type: gpt
Disk identifier: SKFJSA-F1A8-DE4D-93D2-1F43ED220CFFB
You can see there are two disks: /dev/sda (32 GB) and /dev/sdb (1.1 TB).
/dev/sda has three partitions:
- /dev/sda1
- /dev/sda2
- /dev/sda5
/dev/sdb (the newly added disk) has no partitions yet.
Let’s use fdisk utility to create the primary partition:
fdisk /dev/sdb
This will start the fdisk utility. Any commands you type will be fdisk commands.
IMPORTANT: If your disk is larger than 2 TB, you need to run this command before creating a new partition.
g
The “g” command will apply the GPT (not chatgpt.) partition schema for modern BIOs that supports drives greater than 2TB.
Type “n” to create a new partition.
n
Follow the wizard to create Primary partition #1 for the new disk.
When you’re done, write the partition and exit fdisk with “w”:
w
Now, if you run fdisk -l, you will see that the disk has a partition.
We need to create a filesystem for this disk partition. That will allow us to later mount it to extend our Debian filesystem with extra storage.
Use the mkfs command to create an ext4 filesystem on the /dev/sdb1 partition.
mkfs.ext4 /dev/sdb1
Great! The new disk has a partition with a compatible filesystem and is ready to mount to our Debian filesystem for browsing!
Let’s create a directory to use as a mount path:
mkdir /hdd
Then mount the partition to the mount path:
mount /dev/sdb1 /hdd
Now, if you list files on the mount path, you should see lost+found which is like a “Recycle Bin” created by the ext4 filesystem.
ls /hdd
If you see lost+found, it means everything worked and you are now browsing the contents of the virtual disk!
One more step to make everything final!
The disk will become unmounted if we reboot the VM. To make the disk automatically re-mount on boot, we need to modify the File System Table in Debian!
Firstly, get the UUID (Unique Identifier) for your partition with the blkid command. We need this ID so Debian knows which partition to mount at boot.
blkid
Find the UUID for the /dev/sdb1 partition we created earlier. Copy it to keyboard because we need to put it in a file.
Next, open /etc/fstab in a text editor:
nano /etc/fstab
Insert a new line at the end of the file like this:
UUID=YOUR-UUID-GOES-RIGHT-HERE /hdd
Save and quit the file.
Check the fstab entry worked by rebooting the VM and see if the /hdd directory has the lost+found
Nice! Now the virtual drive is ready for Umbrel to use!
Step 4: Install Umbrel and use the new Hard Drive for Storage
Make a directory for Umbrel to store data on the drive:
mkdir /hdd/umbrel
Let’s use Umbrel’s install script and specify the install path so it installs on our drive:
curl -L https://raw.githubusercontent.com/getumbrel/umbrel/913ff567bd6a5136586f0040e80fc99ae310fba9/scripts/install | bash -s -- --install-path /hdd/umbrel
NOTE: Umbrel 1.0+ does not support installation on an existing Debian host. This guide still works, however, you will be unable to upgrade to versions above Umbrel 1.0
NOTE: Modern Debian versions include Docker already installed which breaks this legacy script install method. You need to ensure docker is not installed before running the script!
This will take some time to complete. When it’s done, you will see instructions to setup your Umbrel in the browser!
(Optional) Expand the size of your Virtual Hard Drive
Maybe you need to expand the drive because you’re running out of space. Normally, you’d have to buy a new drive and transfer data. But with Proxmox, we can just expand the virtual drive on the VM (assuming you have extra storage available on the host machine).
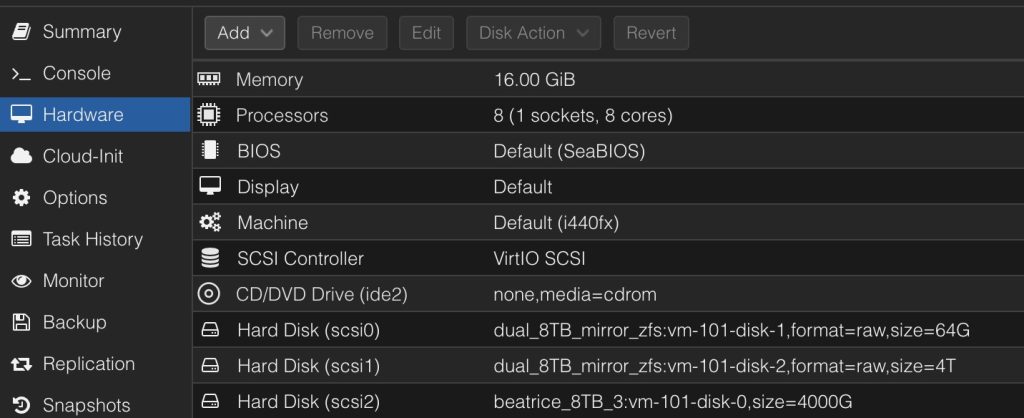
In Proxmox, select the Hardware tab of the VM, then click the Hard Disk you want to expand.
Use the Disk Action selector to Resize the disk.
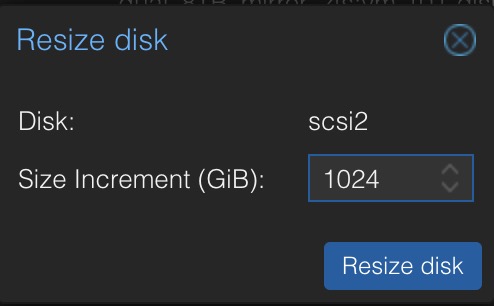
Select the number of GiB to add to the disk and click Resize Disk.
We just added some space to the virtual disk attached to our VM. However, we have to resize both the partition and the filesystem to make the new space usable.
Log in to the VM as root.
Use parted (Partition Editor) and give it the disk label. Note, the argument to parted is the disk label (/dev/sdb), not the partition label (/dev/sdb1).
patrted /dev/sdb
This will start the partition editor and select the disk automatically. Now type the command:
resizepart 1 100%
This will resize partition #1 on the disk to fill 100% of the available sectors on the disk.
quit
Type “quit” to exit the partition editor.
At this point our partition is fully expanded. However, the filesystem is still only using the space of the old partition.
resize2fs /dev/sdb1
The resize2fs command will expand the filesystem to fill the newly expanded partition.
That’s it! You have increased the size of the disk using Proxmox and expanded the partition and filesystem so your Umbrel VM can make use of the new space.
Leave a Reply